In my previous life I worked in PR and one of my accounts was About Face, we worked on spreading the word about their fractional laser treatments, Fraxel and Clear+Brilliant and holy moly the results I saw really did blow my mind. I'm a bit of a beauty nerd at heart and I love learning and trying new treatments, machines, tools...you name it, and this went straight to the top of my "I want to try this" list!
I fell pregnant shortly afterwards so the timing wasn't quite right. Fast forward three years and it was time to finally strike it off my list. So last July I signed up for and started a course of Clear+Brilliant.
Now I do have good skin, I don't have too many complaints and you may all think I am crazy. The thing with factional lasers, is that as well as treating current concerns it is a great preventative measure in the ageing process and we all know that preventing is way easier than erasing! So that was my number one reason why I wanted to try this, I'm also turning 30 this year and I want to keep looking fresh and youthful. Let's face it, a lot of sleepless nights have happened in the last two years due to two busy boys and those first signs of ageing were creeping into my skin. Not going to happen on my watch, definitely doing something about this!
One of the biggest issues was pigmentation, I get really bad pigmentation after "traumatic stress" aka the fancy way to describe a pimple as well as across my cheeks. Secondly I had noticed how thin the skin underneath my eyes was starting to feel (thanks sleepless nights) when it used to feel really thick and healthy but now it felt all papery.
Now how was Clear + Brilliant going to fix all these problems? It's great for those in their 20's to early 30's who want a more advanced treatment than your regular regime or facial, but doesn’t need the benefits of a more aggressive laser skin resurfacing procedure like the big sister to C+B, Fraxel. It's the most gentle laser available and it works by regenerating your skin from the inside out. A fractional laser beam comes out like little pixel dots and affects only a percentage of the targeted skin. The healthy skin around the treated area is what actually causes your skin to regenerate right from dermal layer. Our skin regenerates every 4 weeks (this slows down as we age) so if you are treating right down to that cellular level your skin can make some huge changes! The laser is non ablative, so you don't need to worry about it "burning" your skin; which is something people often ask me when I say I have had a laser treatment. It’s perfect for reversing and preventing early signs of aging and correcting minor sun damage. Basically everything that was on my hit list. Finally it is something that keeps "working" after you have finished your treatments, so you will still see changes in your skin even months after you have finished your course. I'll take that!
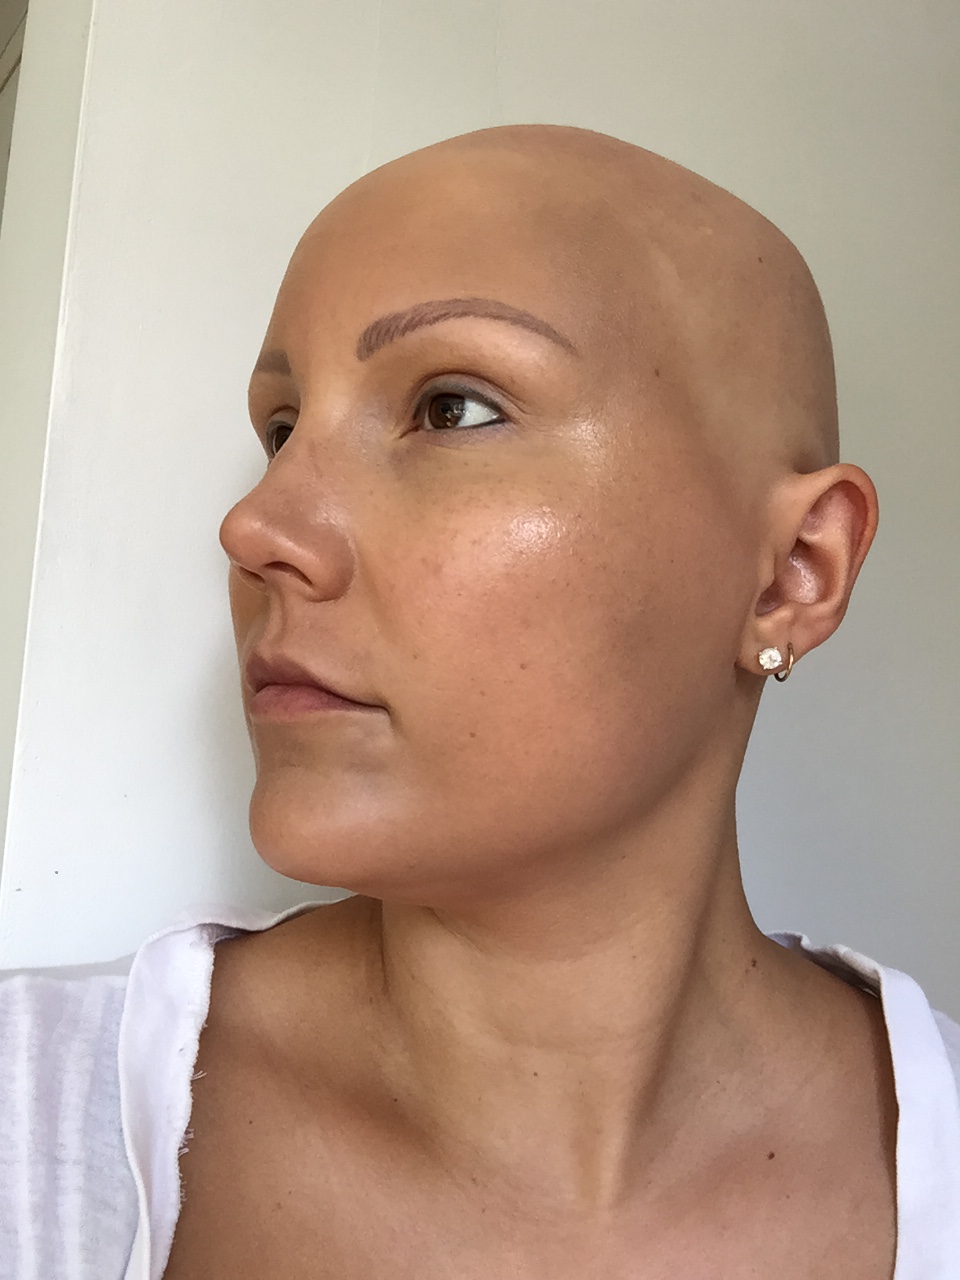
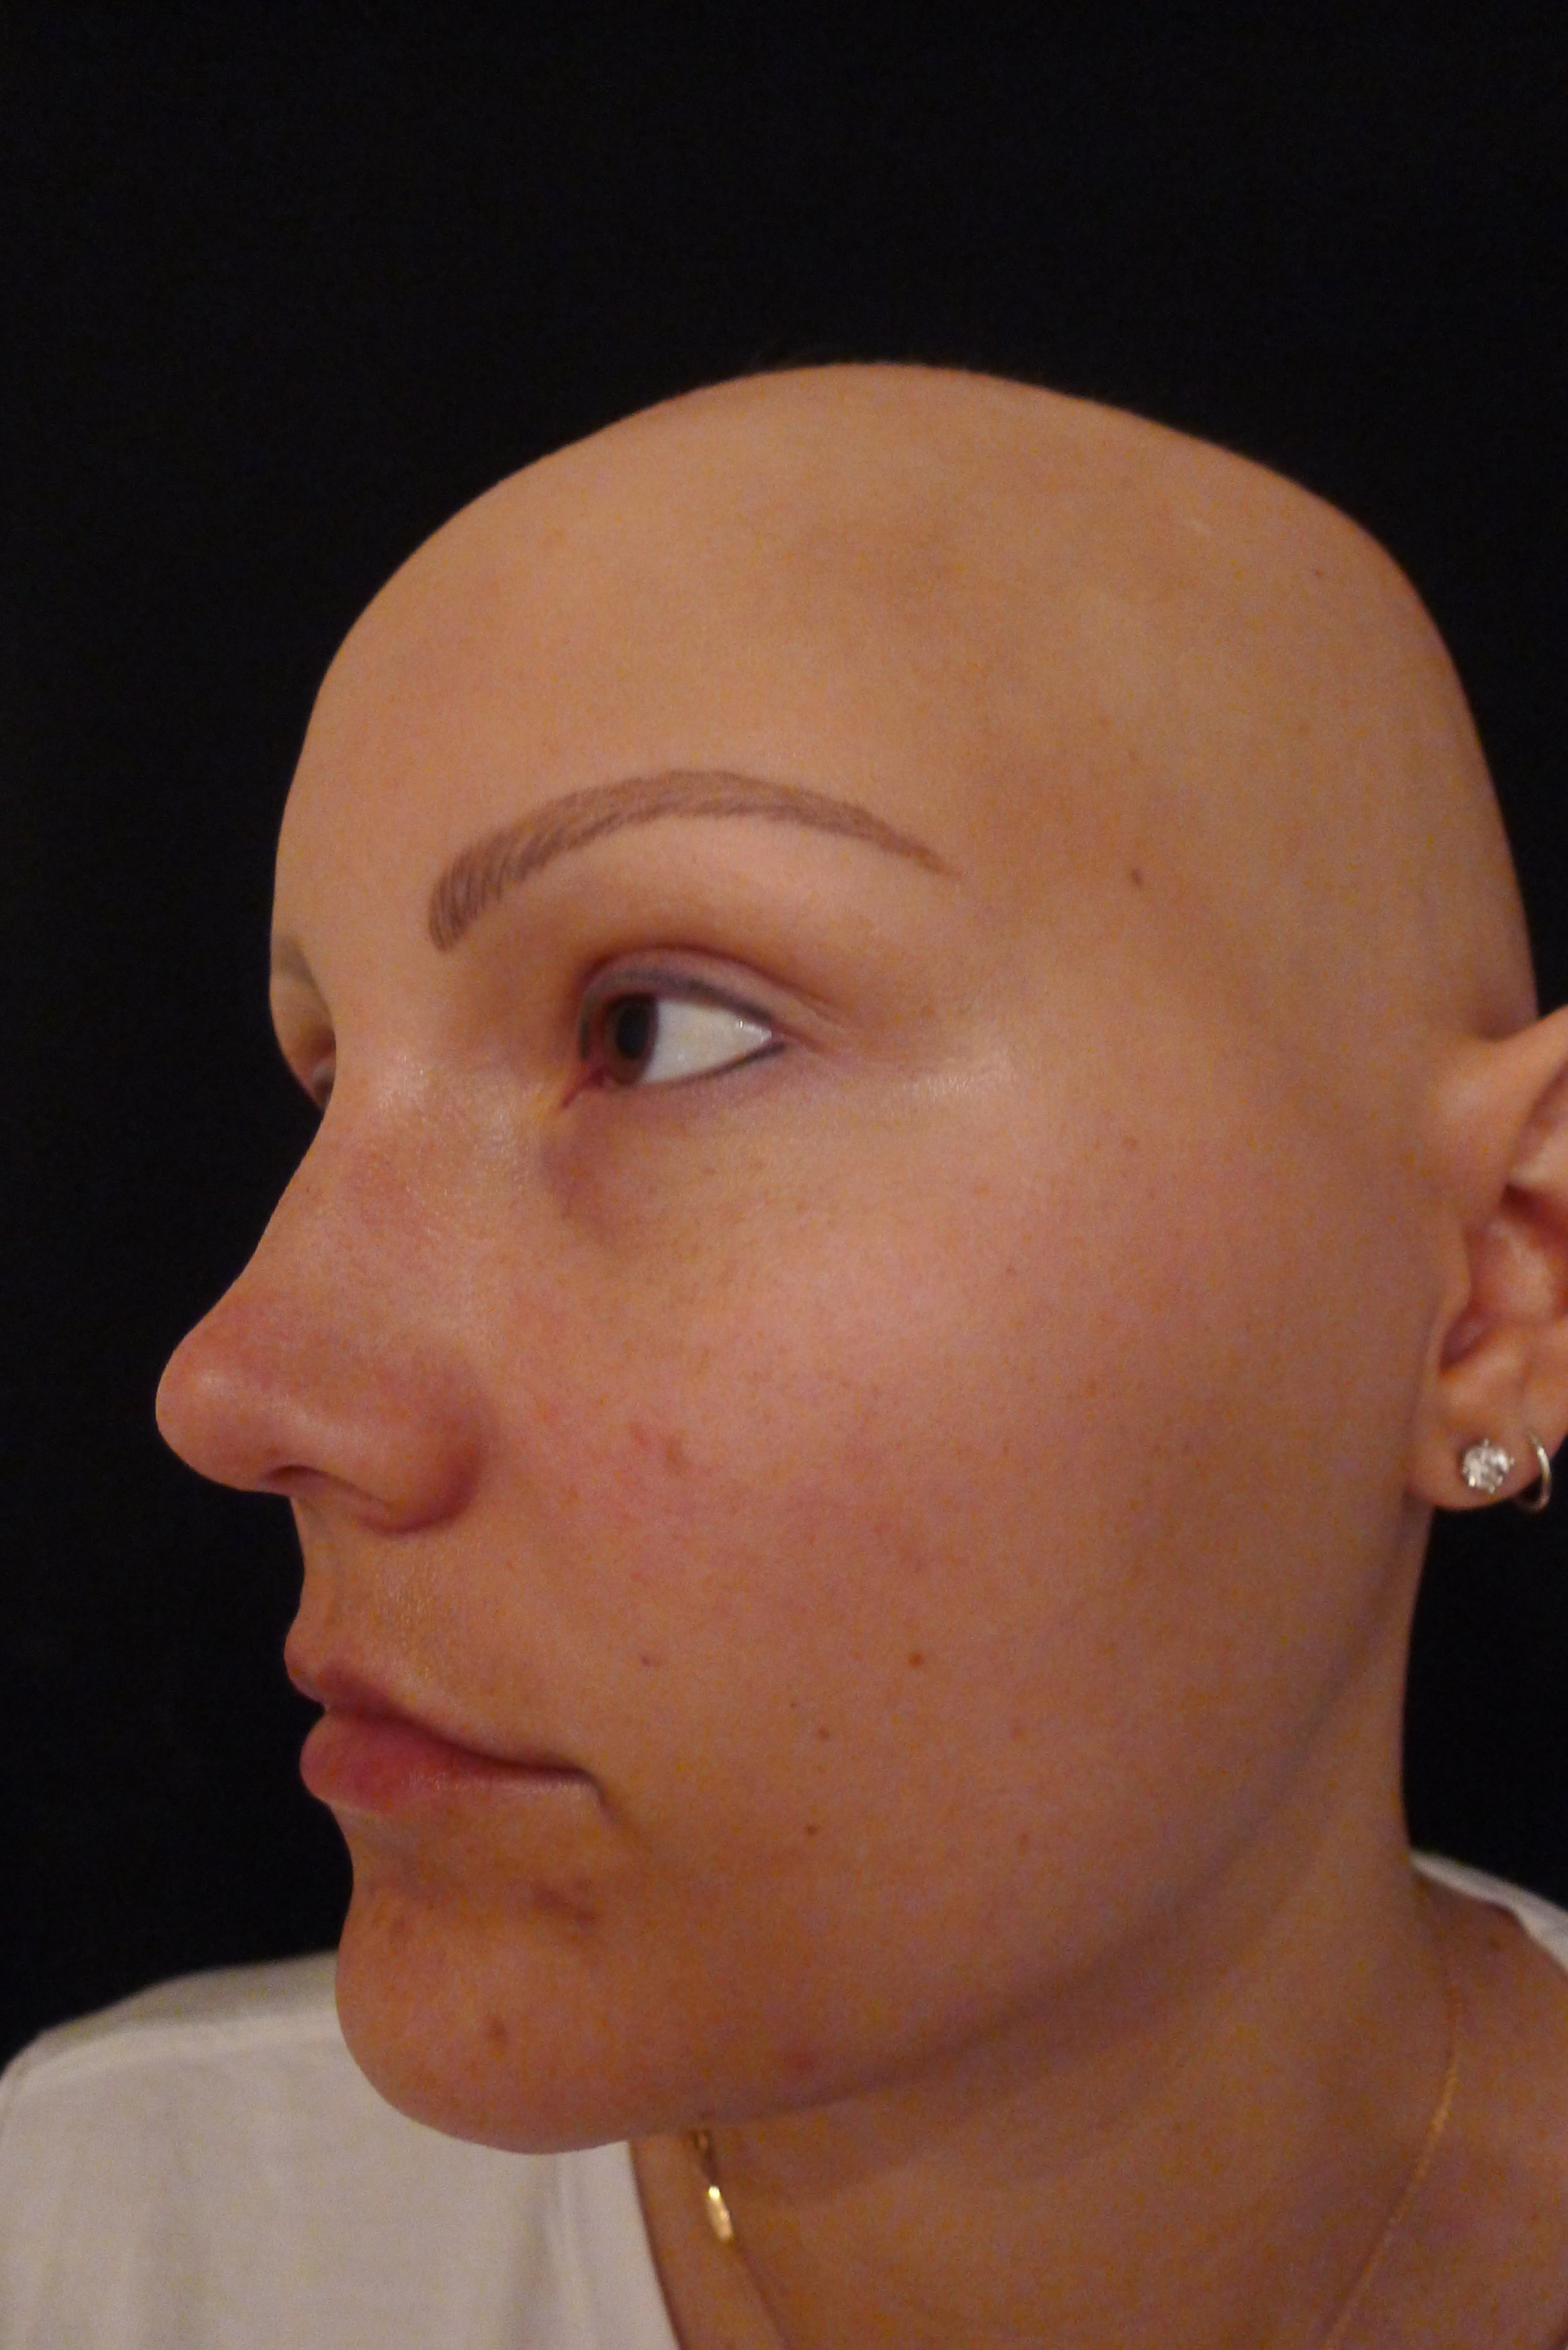
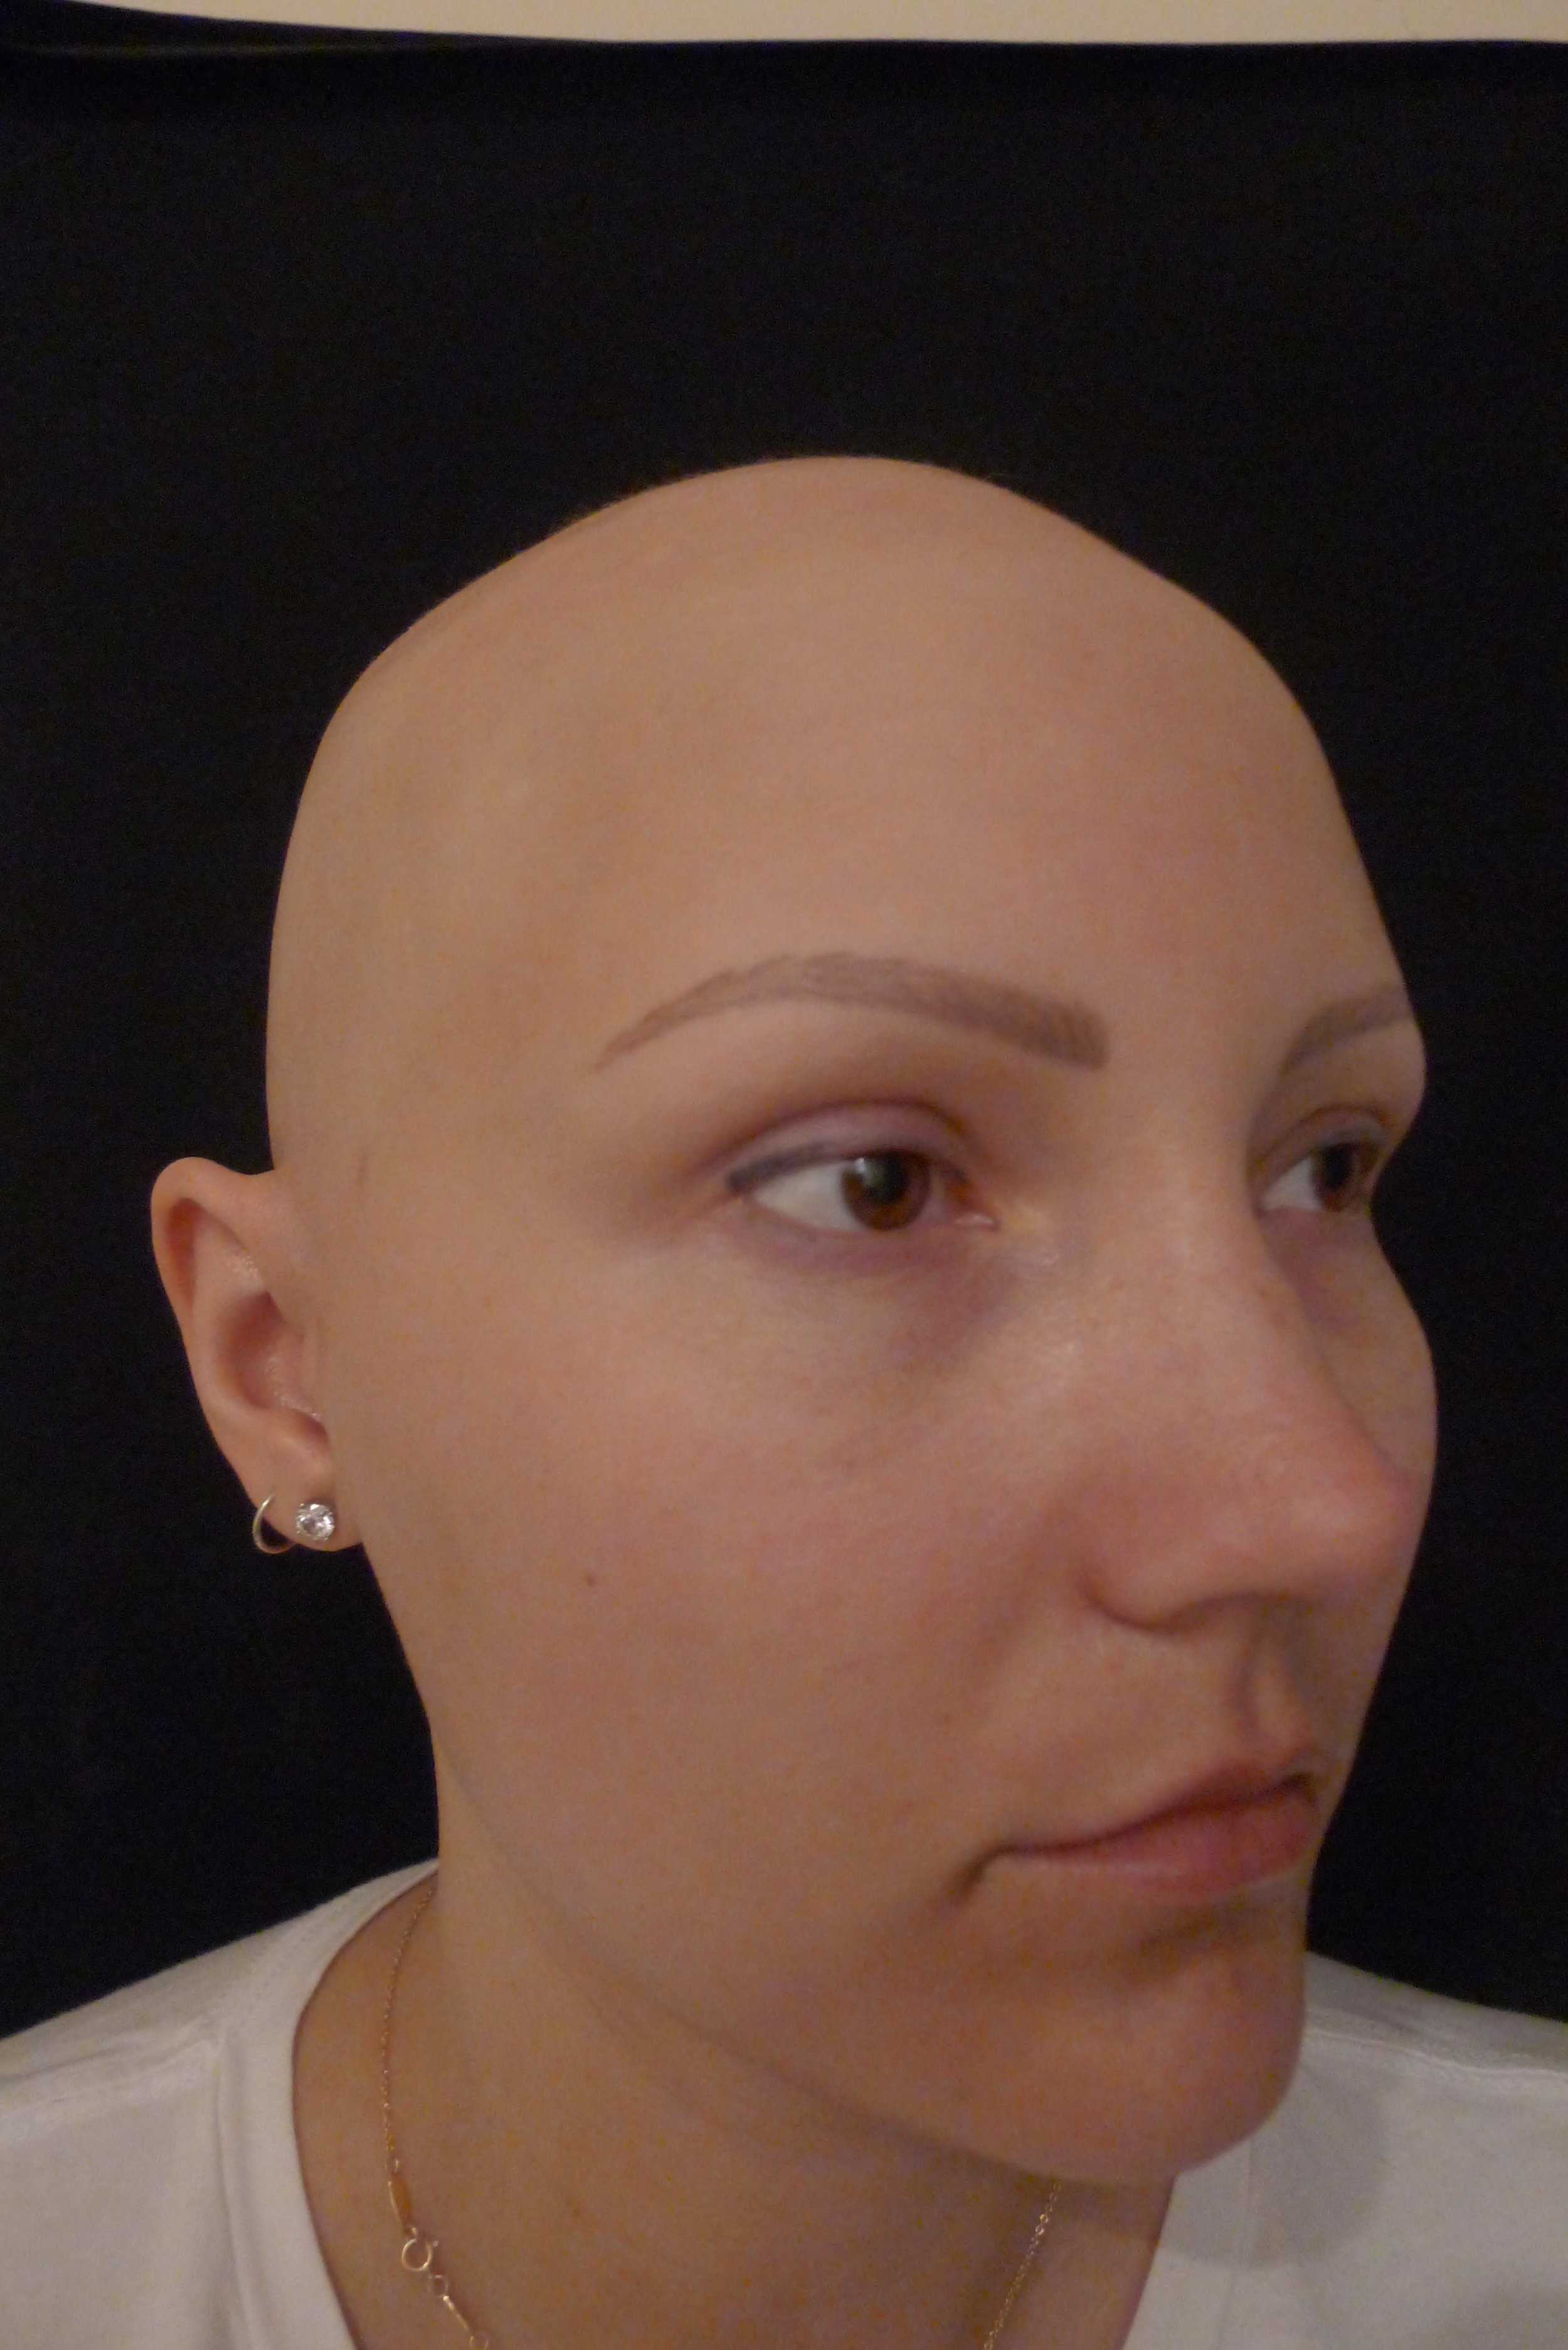
Below are my before photos, these aren't the best as they are taken in a dark room and the photographer was quite a lot shorter than me so the angle is a bit weird and they are a bit blurry.
In the first shot you can see all the dark patches of skin on my chin and you can kind of see the pigmentation on my cheeks. This was all much more obvious in real life. My under eyes here felt so papery but that for obvious reasons doesn't translate in photos. My biggest issues were on the left hand side of my face so I use those photos in this post the most.
In hindsight I would have taken before photos in natural lighting myself, but this was a long time ago and this blog or writing about this procedure weren't even on my radar.

The before photos were taken at a High-tech skin consultation before I locked in the treatment. You have to meet with a Clear + Brilliant technician to talk through the procedure, your expectations, problem areas and check that you are a good candidate before they will book you in. We discussed all my issues and I was right in thinking Clear + Brilliant would be the right treatment for me, we decided a course of 4 treatments would work best for me and these appointments would be about 6-8 weeks apart. The whole thing would take me from July to December with my final after shot and check up in the new year.
The appointments are all the same - you arrive with a bare face and a topical numbing cream is applied to your face and left to do its magic over 40 minutes. You can have a cup of tea, read your book or for the mums out there, have a nap! Once your face is suitably numb you head through to the treatment room, get comfy and have eye patches applied so you don't do any damage to your eyes.
Now I'm not going to lie, you don't not feel anything, but it isn't bad. It feels like little needles pricking your skin and there are definitely areas that hurt more than others. I found this area to be my forehead and when the laser would get closer to my hair-line. Otherwise the only other sensation you feel is a hotness, but you can combat that with a hose you hold over your face that you can use to blow cold air on the area that is being worked on. The actual lasering part takes about 20 minutes, so it's not too long to grin and bear it if you are uncomfortable.

Once all is done you apply a cold compress to your face and a cooling moisturiser. You definitely don't look weird after the treatment, I felt comfortable to walk around in public. You're just red like you have had a mega workout or got a bit too much sun. After care is easy, keep moisturising and don't use any glycolic acids (check your skin care as it is quite a common ingredient in a lot of products) or exfoliate. The first few days after the treatment I looked like I had gotten a tan, my skin looked darker (this is because of the healing process of all those "pixels") and my skin felt rough to the touch but didn't look it. I was self-conscious about it but no one said they could see anything. The only time I could visually see any difference was when I wore a thicker foundation out one night; it kind of stuck to the skin that was dry and was starting to shed away. So stick to really moisturising and light foundation and you won't have a problem. After about 10 days max my skin felt back to normal, but not its usual normal self, it was super baby bottom smooth! I seriously couldn't stop stroking my face and kept catching myself doing it sub consciously.
I couldn't see that much improvement to my issues after that first treatment and I discussed this with my technician at the next appointment which was 8 weeks later. She told me that often people see the most initial improvement in between the second and third treatment and then it is something that progressively gets better. She was right, I really noticed my dark spots on my chin start to lift after that second appointment.

My final treatment was in December and due to the holidays etc we booked in to have my final post treatment shot in February. A couple of scheduling issues meant it was pushed out a little bit longer and I had these done just the other week. I was told I needed to apply a lot of sunscreen over my face during summer to really protect that new skin that was coming through.
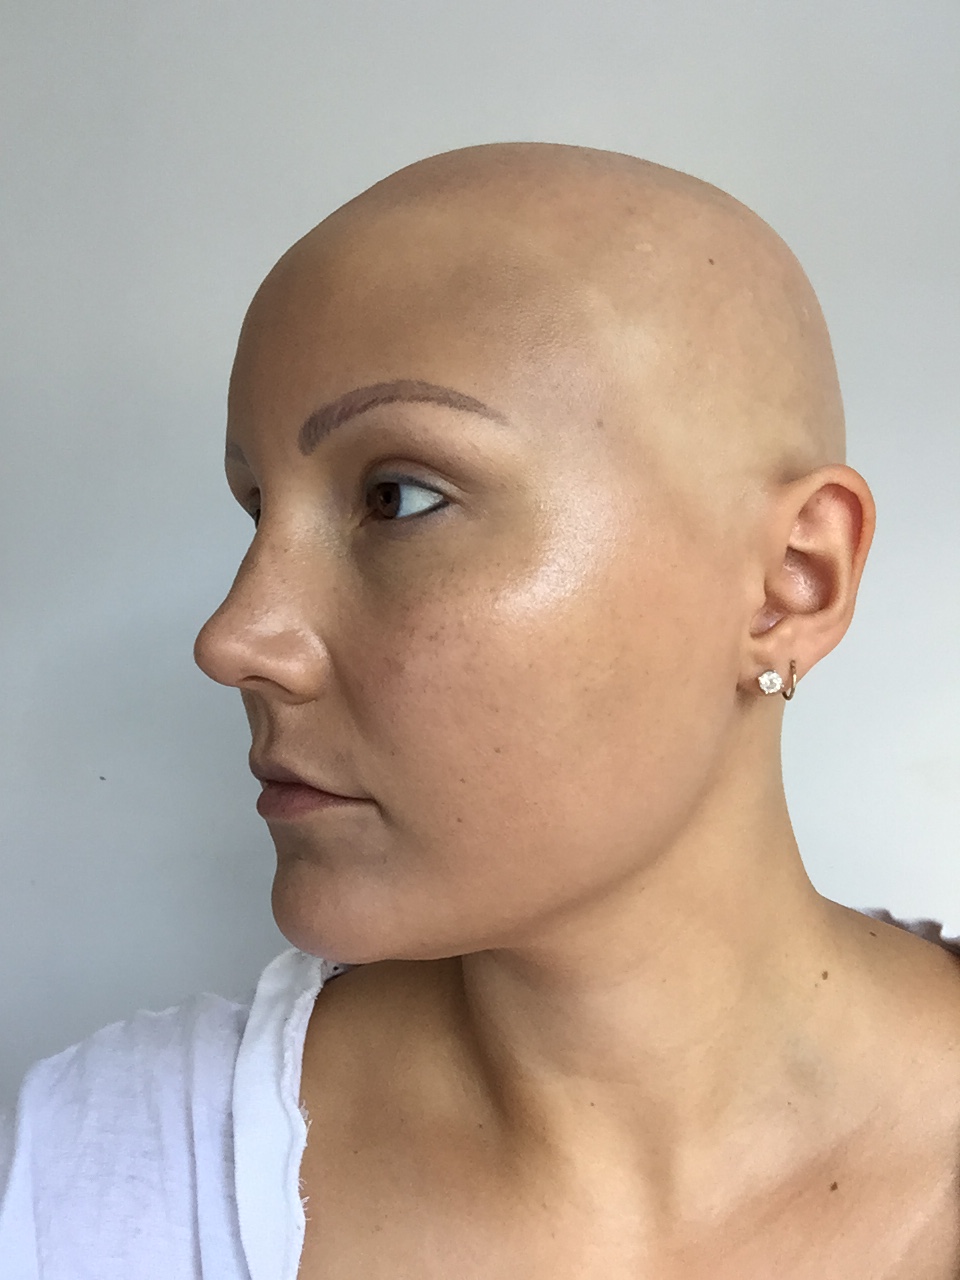
My after shots below are one set from inside About Face and a second I took at home in natural light as I think it's easier to see the real results. I definitely have a few more freckles than in my first before shots, but that is very typical of my skin during summer (I try to slather my face in sunblock but sometimes I forget to re apply after swimming etc, naughty Anna). You have to remember the first photos are taken during winter, so my freckles have usually died down during those months and re appear when my skin sees a bit of sun. So try to look past those and check out my chin! All that pigmentation has DRAMATICALLY improved and my skin tone is so much more even through the cheeks. My under eyes feel so dewy and the skin is much thicker there, I notice my concealers and foundation don't get "stuck" in fine lines under my eyes anymore. Which is such a win as I hated that! In general I feel my skin is so much smoother, supple and has a glow about it. In the after shots I took at home my skin is literally glowing where the light hits it, that's all natural sun highlighter people! I don't have a stitch of makeup on (that's left over eyeliner tattoo on my eyes). I even notice my skin is a lot less red, even though Clear + Brilliant don't claim to make a difference in this area.
So to sum it up, I'm stoked! It was so worth it and I really hope it will help in the long term with slowing down the ageing process. My friends all have commented on how my skin looks great. The compliment that sticks out to me the most is how when people I meet find out I have twins they always say how "rested" I look and they can't believe I only had a few hours sleep the night before or have had a tough week with the boys.